
Our iTero machine is a regular workhorse in our office. We have 2 full time doctors and we are constantly using it for all kinds of impressions. The camera looks large when you first examine it, but the part that goes into the mouth is quite easy to fit in the most difficult places. However, there is one problem I have found that required improvisation. The depth of field of the camera is limited and will not focus on parts of the mouth that are too far away from the lens.
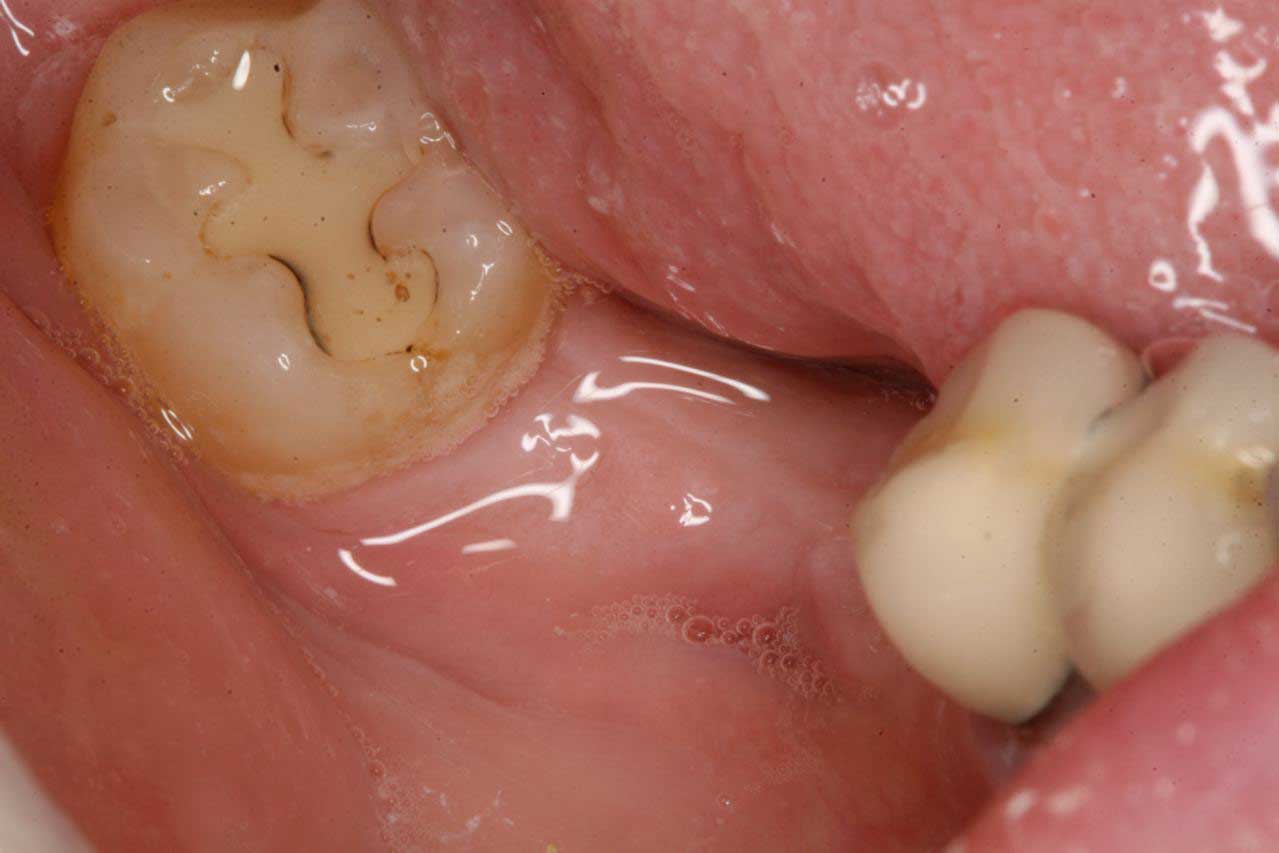
If you were trying to take a complete model which included #32 in the above photo you would have to be able to take a picture of the gingiva in the edentulous area between #29 and #32 to tie it to the rest of the arch. Sometimes the gingiva is too receded and too far from the camera to be photographed by the angled camera head. No matter how you put the camera into the mouth you come up with no data in the edentulous space. If you feel you really need that tooth included in the scan, here is an easy and quick trick to complete the scan.
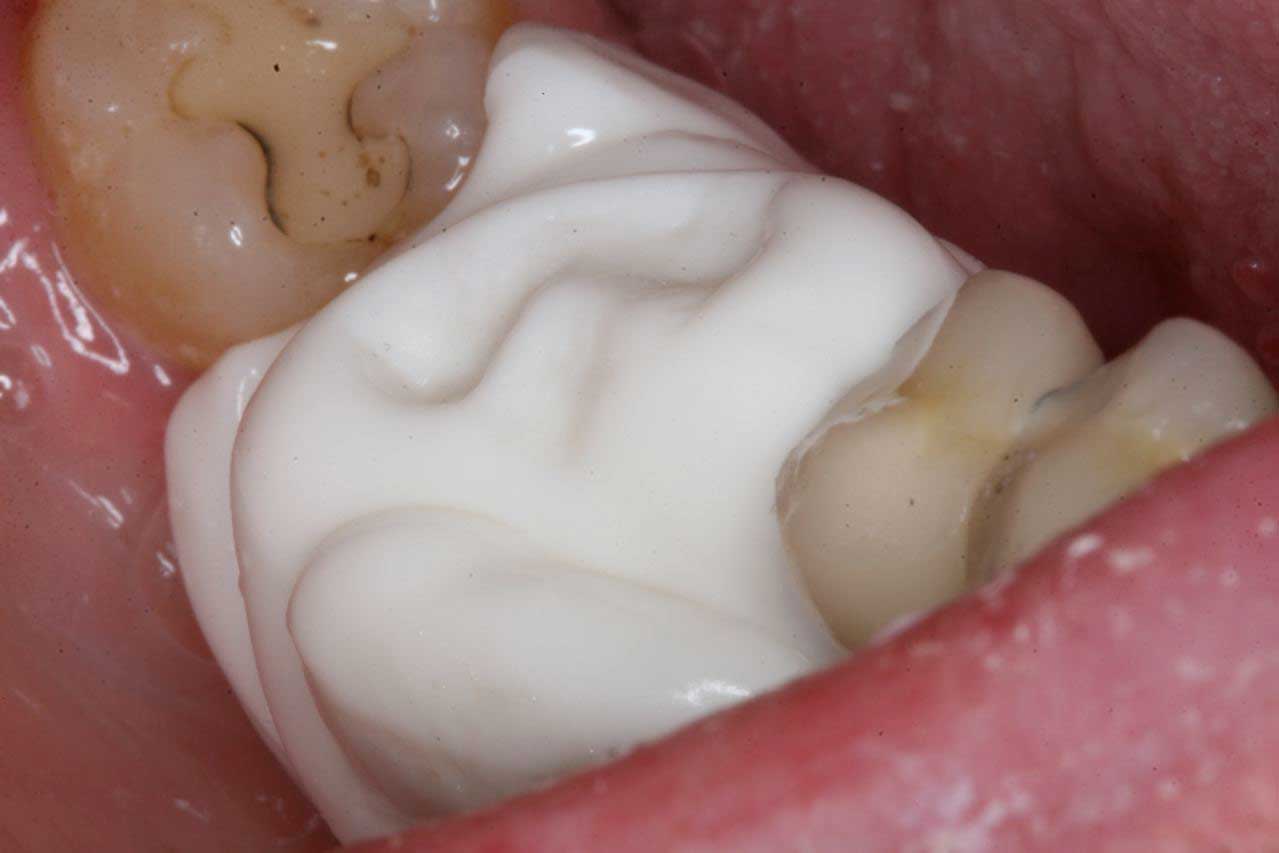
Place a small amount of bite registration material in the edentulous space and have the patient bite into it. Now you can scan the bite registration material and tie #32 to the rest of the scanned model easily.